The Preservation Project
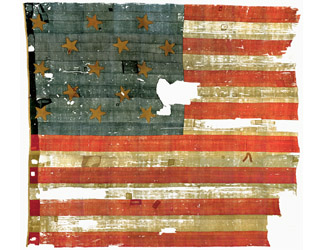
Explore The Interactive FlagIn 1994 the Museum determined that the Star-Spangled Banner required further conservation treatment to remain on public display. Conservation of the large and valuable flag would require several years and specialized equipment and staff.
The Conservation Process
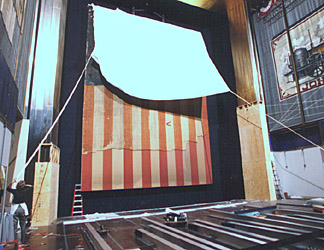
01 In 1998 teams of museum conservators, curators, and other specialists helped move the flag from its home in the Museum’s Flag Hall into a new conservation laboratory. First, the staff sealed off the work zone in Flag Hall from public access and secured the area. Next, they covered the flag’s back and front. Next >
02 The team then reinforced the display frame and lowered the flag on cantilevered scaffolding.
Next >
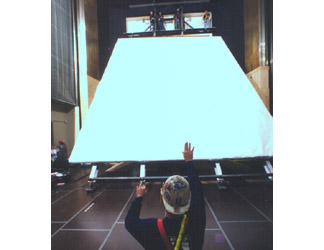
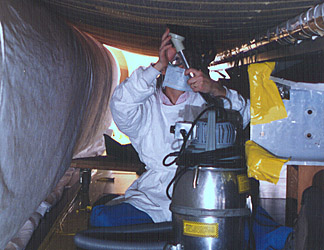
03 The conservation team carefully vacuumed the flag and protected its fragile areas before rolling it onto the tube for transport to the new lab in its special crate.
Next >
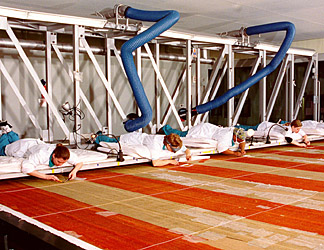
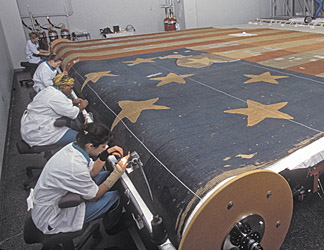
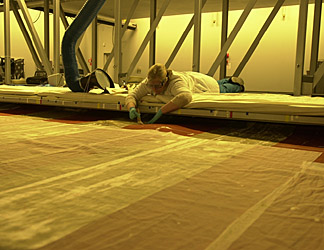
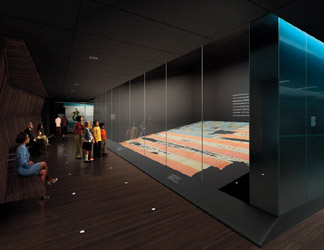
04 The flag was moved to a new specially-built conservation lab Museum visitors observed the conservation process through a 50-foot (15.2-m)-long glass wall. A moveable bridge (gantry) gave the conservation team a working surface above the flag. The lab was equipped with its own heating, ventilation, and air conditioning system (HVAC) that kept the air free of contaminants and maintained a steady temperature and humidity.
Next >
05 The conservation team began treating the flag by removing the linen support backing that was attached in 1914. Over the years, this support had weakened and become soiled.
Next >
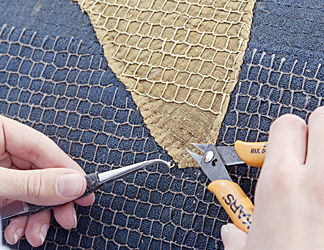
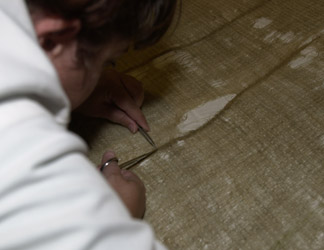
06 In order to remove the linen backing, the conservators first removed the web of approximately 1.7 million stitches that had held it in place since 1914. They used tweezers to grasp each stitch and small clippers to cut the thread where it pierced the flag. Then, lifting the released end of the stitch, they clipped the other end. They then lifted the clipped stitch away.
Next >
07 The conservators painstakingly removed the linen backing. They used small spatulas to separate the linen from the flag, then carefully lifted the linen and removed it in small sections.
Next >
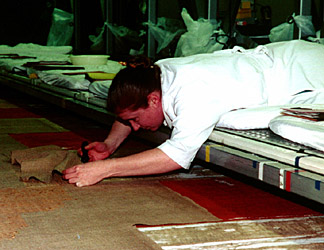
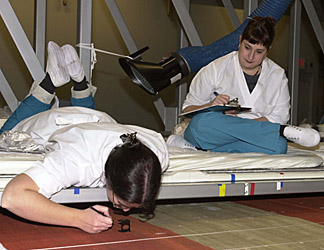
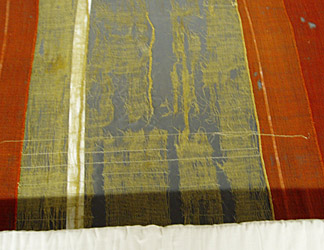
08 After removing the linen backing, the conservators had an unobstructed view of the back of the flag for the first time in 85 years. Using a camera attached to a microscope, they documented its condition, including fiber deterioration and stains. Information obtained during this phase helped project curators and conservators decide on next steps in the conservation treatment.
Next >
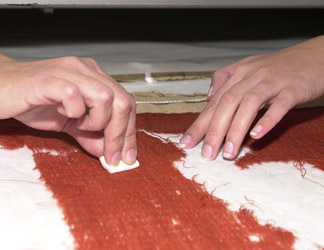
09 Conservators used non-abrasive, dry sponges to gently blot surface dirt from the side of the flag that had been previously covered by the linen. The composition of the dirt was analyzed, providing more detailed information on the flag’s history.
Next >
10 Conservators turned the flag over and removed surface dirt from the opposite side, applying the same dry-sponge technique. Most of the dirt removed was made up of minute particles of carbon and oily residues.
Next >
11 Before the Star-Spangled Banner came to the Smithsonian, it had been patched and mended many times. Conservators carefully removed sixty of the most harmful repairs in order to relieve stress and allow the fabric to regain its natural shape.
Next >
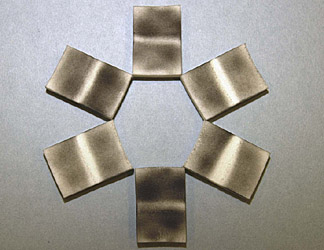
12 After extensive research, conservators devised an effective and safe method for removing embedded dirt from the flag that had remained after the dry-sponge cleaning procedure. They carefully applied a solvent mixture of acetone and water to the flag using a very soft bristle brush with no metal components. Acid-free, conservation-grade blotting paper placed under the flag absorbed the dirt as it was released from the fibers.
Next >
13 To document the flag, conservators had it photographed. Because of its size and the confined space of the lab, the flag could not be photographed as a whole. The photographer took seventy-three separate images. Using computer technology, each frame was pieced together, like a puzzle, into a composite image.
Next >
14 Before conservators began the final phase of the work, they realigned the flag, taking out folds and distortions that occurred when Amelia Fowler “restored†the flag to a perfect rectangle in 1914. To complete the conservation process, they sewed the flag to Stabiltex, a lightweight polyester material, to support it and keep fragile areas in place. To prepare the flag for exhibition, conservators attached the flag to a heavier, dimensionally-stable underlay.
Next >
15 The flag was covered to protect it from dust and debris during the Museum’s renovation. It was then rolled and crated for the move to its new home. Once inside the new chamber, the flag was unrolled on the display table. The underlay was secured under the table with clamps. The table was then tilted to 10 degrees, the angle conservators concluded would provide proper support for the flag while allowing the best view of the flag.
Click the thumbnails below to view the Conservation Process.
01
02
03
04
05
06
07
08
09
10
11
12
13
14
15
Collect Stars To Complete The Flag
Why were certain mends and patches removed from the flag during the conservation process?
- To relieve stress on the flag and allow the fabric to regain its natural shape
- The patches were unsightly
- Conservators wanted to study the fabrics used to patch the flag
